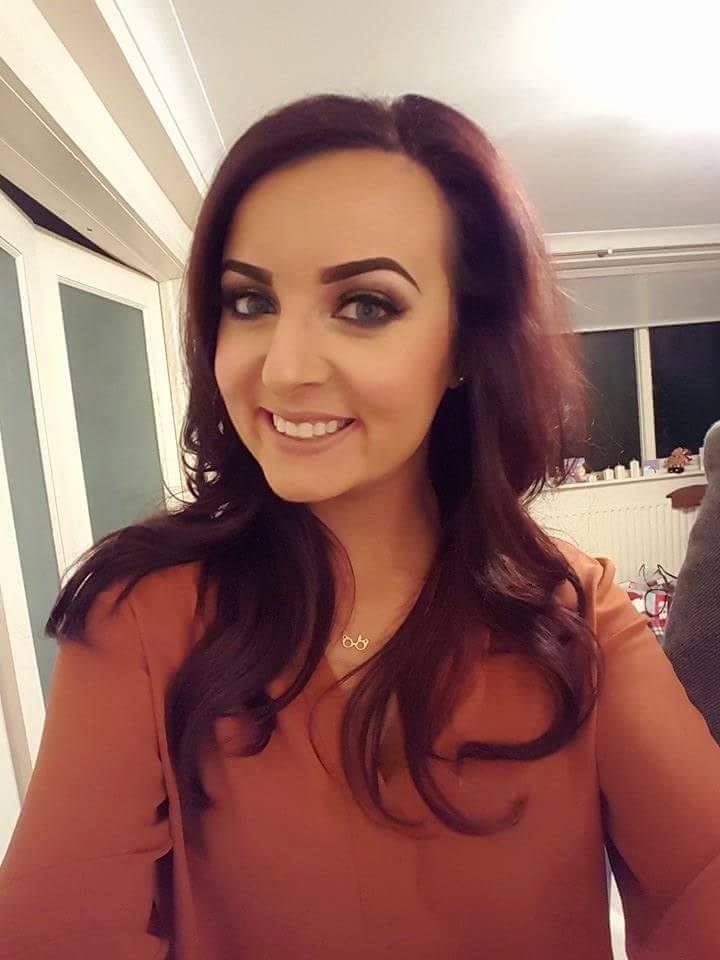
Repost: A #PowerofMakeup post showing a half & half face lesson I had with Maisy in La Beaute Aug 2013
14:51:00So tonight is probably the blog most of you have been waiting for and I have certainly kept this one back a little while getting the hang of blogging :)
In August I went back to visit Maisy in La Beaute Waterford for a one to one lesson. I had been back to her a few times since my initial lesson to have myself beautified for a night out. I really like how good Maisy is at working with your face and really choosing products that suit the look you are trying to create. I had been to France and purchased some new make up that I really wanted to learn how to use properly so I contact Maisy about a one on one lesson where she would create a look on half my face and then I would try to replicate what she did on the other side.... Sounds hard and it was but with some great guidance from Maisy we did it! Pics at the bottom as always ;)
We had decided the best way to save money for me was to use only the products I had with me on the day but of course I could help but want some new stuff after being there with her... I'll also post some pics of them on the bottom of this blog also.
The easiest way for me to explain how I created the look is to give you a step by step face guide. I will add a product list on a separate blog straight after this as I have to try and dig out all we used on the day... Enjoy :)
Face:
Primer: Prime your face first. You don't need to use a whole lot of this product just make sure it's nice and even all over your face.
Foundation: I was using a lighter liquid foundation so with my first application, I made circular motions with my brush and once I felt all my face had been covered using that technique, I added a little more foundation using a dabbing motion on my face to ensure good coverage. By dabbing a little extra on you also ensure you don't get lines on your face from the swirling motion.
Powder: Take a good amount of powder onto a large powder brush and dab the powder onto the face. This helps to set your foundation and not leave clumps of product on your face.
Contour: Taking a good amount of contouring powder again onto a contour brush, sweep along the hollow of the cheek then work up the temple and onto the forehead to meet at the hair line. Also contour the jaw line and along the inside of the nose including your nostril.
*Do not be afraid at this stage when you see brown lines... the key is the next step*
Blending: The holy grail of good make up, Taking a clean fat brush, blend all the contour onto the face. You blend where you have contoured- not over the whole face.
Highlighting: Using a smaller powder brush, spread the powder highlighter all under the eye coming out to the socket, highlight the center of the forehead, along the bridge of the nose and under the contour line in the hollow of the cheek.
Blending: Once again it is key to use a clean brush, blend in all the excess highlighter making sure to blend where the contour meets the highlighters.
Blush: Only apply blush to the apple of the cheeks. A blush brush is used for this, if you feel your blush is too severe, take a blending brush from earlier and blend away some of the colour.
Brows: When defining or shaping your brows with colour, be very careful not to over do it. Using any brow kit apply the gel first and then the powder colour. Do take your time and just a little product at a time and move along your brow slowly. You do not need to have what look like two marker lines on your face. A good brow can really shape your eyes.
Eyes:
We went for a smokey look using the Naked 2 palette- To create a smokey eye, choose four colour; Base colour for the crease, darker edge colour which will also be added to the crease, a lid colour and the darkest colour for the outside of the eye.
Shadow: Start with the crease- apply the base crease colour with a shadow brush. Blend Blend Blend... using this blending to move the crease colour a little higher towards the arch of your brow.
*a shadow bush applies colour but you need blending brushes separately*
Next apply the darker colour into a V shape at the side of the ye, blend this from the V into the crease but not higher than that and not to take over the crease base colour. Shadows should flow gradually into each other. Next to apply the lid colour, take a different brush and apply the brighter lid colour all over until it meets the V colour and the crease. Blend this lid colour in using a clean brush but do keep it defined. The last colour to use is to be applied to the outter corner which again is put on the eye using a V shape and blended very well so that the colour appears to run into each other easily.
Eye liner: Apply a line of gel eye liner with the outside edge becoming thicker. To make a cat eye, apply the liner on the bottom tear line including the lash line and bring the line out and up to meet the shadow. Fill back in the gel liner to meet the top line of the eye creating a triangle. The apply some liner into the crease and blend using the crease blending brush to really darken and define the crease.
Lashes: Apply false lashes in which ever way is easiest for you. Some people use a tweezers, I personally tend to look half down and balance the lashes onto my own. Before you begin to apply lashes be sure to measure them to your lash line. Cut them is necessary and then bend them a few times to ensure they are not stiff. This makes them much easier to apply. Apply mascara to both the top and bottom lashes. Squeeze your own lashes and the false lashes together with either your fingers or an eye lash curler so they look like one.
Lips: An easier way to apply both liner and lipstick can be with a small lip brush. This can help you keep a steady hand of you're worried about smudging.
Voila ladies that is the complete step by step guide to creating the look you are about to see.


2 comments
Fantastic post!
ReplyDeleteBest power of makeup lies in eye makeup. Eye make up can be done very finely by using airbrush eye make up kit containing spray, shimmer, eyeliner, eye shadow and all other eye airbrush make-up products.
ReplyDelete